I presented 3 more interviews last night. I visited 3 guild members and had a look around their sewing rooms. Have a look
Joyce Richard
http://www.youtube.com/watch?v=uE60_g6D-MY
Bonnie Sproull
http://www.youtube.com/watch?v=DqfGrpwy1Bc
Amanda Habold
http://www.youtube.com/watch?v=NFgAHCe4yr4
Until the next stitch!!

My quilting blog
tongue

Tuesday, December 4, 2012
Sunday, December 2, 2012
The 2 Chocolate Quilts
I went on a big posting jag then left ya all!! I am still here. I have had an incredibly busy month. I have kept up but the blog has suffered. I will be posting the mystery clue 3 later this week. There was no clue last month as I wanted to give you time to get caught up. Or it was going to be given out and there was no clue for December. Just depends on how you look at it :P
I did design and finish 2 baby quilts. I wanted to make a teal and chocolate quilt. I bought too much fabric so I decided to make 2. One is spoken, the other is just ahead. I have ordered the batts and will be quilting these myself. Excited!!

 Until the next stitch!!
I did design and finish 2 baby quilts. I wanted to make a teal and chocolate quilt. I bought too much fabric so I decided to make 2. One is spoken, the other is just ahead. I have ordered the batts and will be quilting these myself. Excited!!


Friday, November 9, 2012
Woodstock Quilt Guild Longarm Quilters Videos
OK I think I have the videos ready for your viewing pleasure!!!!
The introduction click here
Janet Melanson's the Quilt Loft click here
Theresa Stephenson's Mark the Spot click here
Shelley Dionne's Graceful Stitches click here
The introduction click here
Janet Melanson's the Quilt Loft click here
Theresa Stephenson's Mark the Spot click here
Shelley Dionne's Graceful Stitches click here
Wednesday, November 7, 2012
NO!!!! Quilt guild longarm videos
I can not believe that technology, usually my friend, kicked me in the ass last night.
I did interviews with all 3 of the guild's long arm quilters. I edited it, I added music, I added them all together. I then hooked my laptop up to a big tv. No sound. I call in my tech guy (thanks Scott). He uninstalls drivers, downloads others, gets me sound. I run to the meeting, test drive it all when I get it hooked up, all is good!! So then it is my time. I move the whole thing and guess what, NO SOUND!! I call Scott and he arrives with in 5 min. We put the sound back to the laptop (hardly can hear it) and we watch the video. I say watch because the voices are not loud. We could hear a couple, but not well. I was very very disappointed. And I am going to be doing more next month. I bet I will have 2 back ups next month. It will not happen again!!
But that being said, the girls were some quiet. They didn't even move.
So I go to upload the video onto my blog and guess what, too big. So I upload it to You Tube. 6 hour upload. Leave the pc running. Next day no video, guess what?? It is too big for You tube. So I am forgetting about it until tomm. I can upload the video in smaller parts. Guess I got kicked again!!
Until the next stitch!!
Thursday, November 1, 2012
How are you doing with clue 2?
Well I am almost ready to give you clue 3 in our little mystery. I know there is at least one other person doing this mystery with me!! Thanks Nelvana, and Darcy for printing them for her!! Here is a picture of my clue 2
 Gaynell is a guild member, she has her clue 2 done too!!
 Until the next stitch!!


Tuesday, October 30, 2012
Easy Schmeezy Pillowcase demo
I have been making a lot of pillowcases as of late. I learned a really amazing and easy way of making them so there is no raw edges and no hand work involved.
Fabric required to make 2 pillowcases:
2 - 1 yard cuts of two different fabrics (Its OK if they are not the same width)
2 - 2" strips width of fabric of a matching fabic
Take one of the one yard cuts. Do not open it up (salvages together). Square it up and then cut it 27". Cut another piece 9". Do the same thing with the other one yard cut. CUT OFF ALL SALVAGES!
Take the 2" strip and fold it WRONG sides together so the right sides are facing you on both sides. Press. Repeat to the other strip. CUT OFF ALL SALVAGES!
Bring your pins and head to a table big enough that you can open up the fabric full width.
Open up one of the 9" strips. Place it on the table right side up.
Take the 1" strip that you ironed and place it at the top of the 9" strip, matching the raw edges. Pin in place.

Now open up the body of your pillowcase, right side down, and line it up with the cuff and strip. Place a few pins in to hold it.
 Here is a close up of one end. It is ok if they are different.

Now roll the body up towards the pins.
 Please note that I changed the cuffs in the pictures. The striped cuff is the same as the dark blue cuff in the earlier pictures. Roll the body up enough that you can see the cuff and bring it up to the pins. Take the cuff and bring it to the pins. Pin in place. You now have created a tube with all the fabrics inside and just the cuff on the outside.

Sew a quarter inch in the total length of the fabric. Remove the pins as you sew.


Now turn the tube inside out. The cuff is on with the strip attached. Press. Square up the ends making sure it is square. Fold the fabric so it looks like a pillowcase. The strip will be on the outside (right sides). Make sure that the wrong sides are inside. The right sides are out. Pin the long edge and the end opposite the cuff.
Sew a quarter of an inch from the raw edge.

Now pull it inside out and press, paying attention to the seams you just made. Take back to your sewing machine and sew those 2 seams again, using a 1/2" seam allowance or a bit bigger.
 Turn it back out and you are finished. It's that easy!!!


Fabric required to make 2 pillowcases:
2 - 1 yard cuts of two different fabrics (Its OK if they are not the same width)
2 - 2" strips width of fabric of a matching fabic
Take one of the one yard cuts. Do not open it up (salvages together). Square it up and then cut it 27". Cut another piece 9". Do the same thing with the other one yard cut. CUT OFF ALL SALVAGES!
Take the 2" strip and fold it WRONG sides together so the right sides are facing you on both sides. Press. Repeat to the other strip. CUT OFF ALL SALVAGES!
Bring your pins and head to a table big enough that you can open up the fabric full width.
Open up one of the 9" strips. Place it on the table right side up.
Take the 1" strip that you ironed and place it at the top of the 9" strip, matching the raw edges. Pin in place.

Now open up the body of your pillowcase, right side down, and line it up with the cuff and strip. Place a few pins in to hold it.


Now roll the body up towards the pins.


Sew a quarter inch in the total length of the fabric. Remove the pins as you sew.


Now turn the tube inside out. The cuff is on with the strip attached. Press. Square up the ends making sure it is square. Fold the fabric so it looks like a pillowcase. The strip will be on the outside (right sides). Make sure that the wrong sides are inside. The right sides are out. Pin the long edge and the end opposite the cuff.
Sew a quarter of an inch from the raw edge.

Now pull it inside out and press, paying attention to the seams you just made. Take back to your sewing machine and sew those 2 seams again, using a 1/2" seam allowance or a bit bigger.


Monday, October 29, 2012
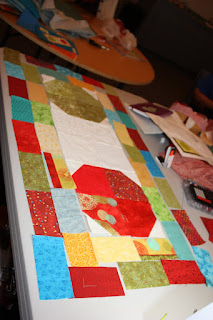
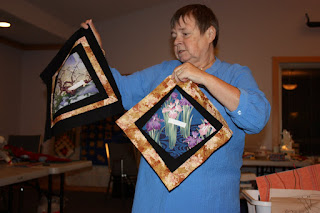
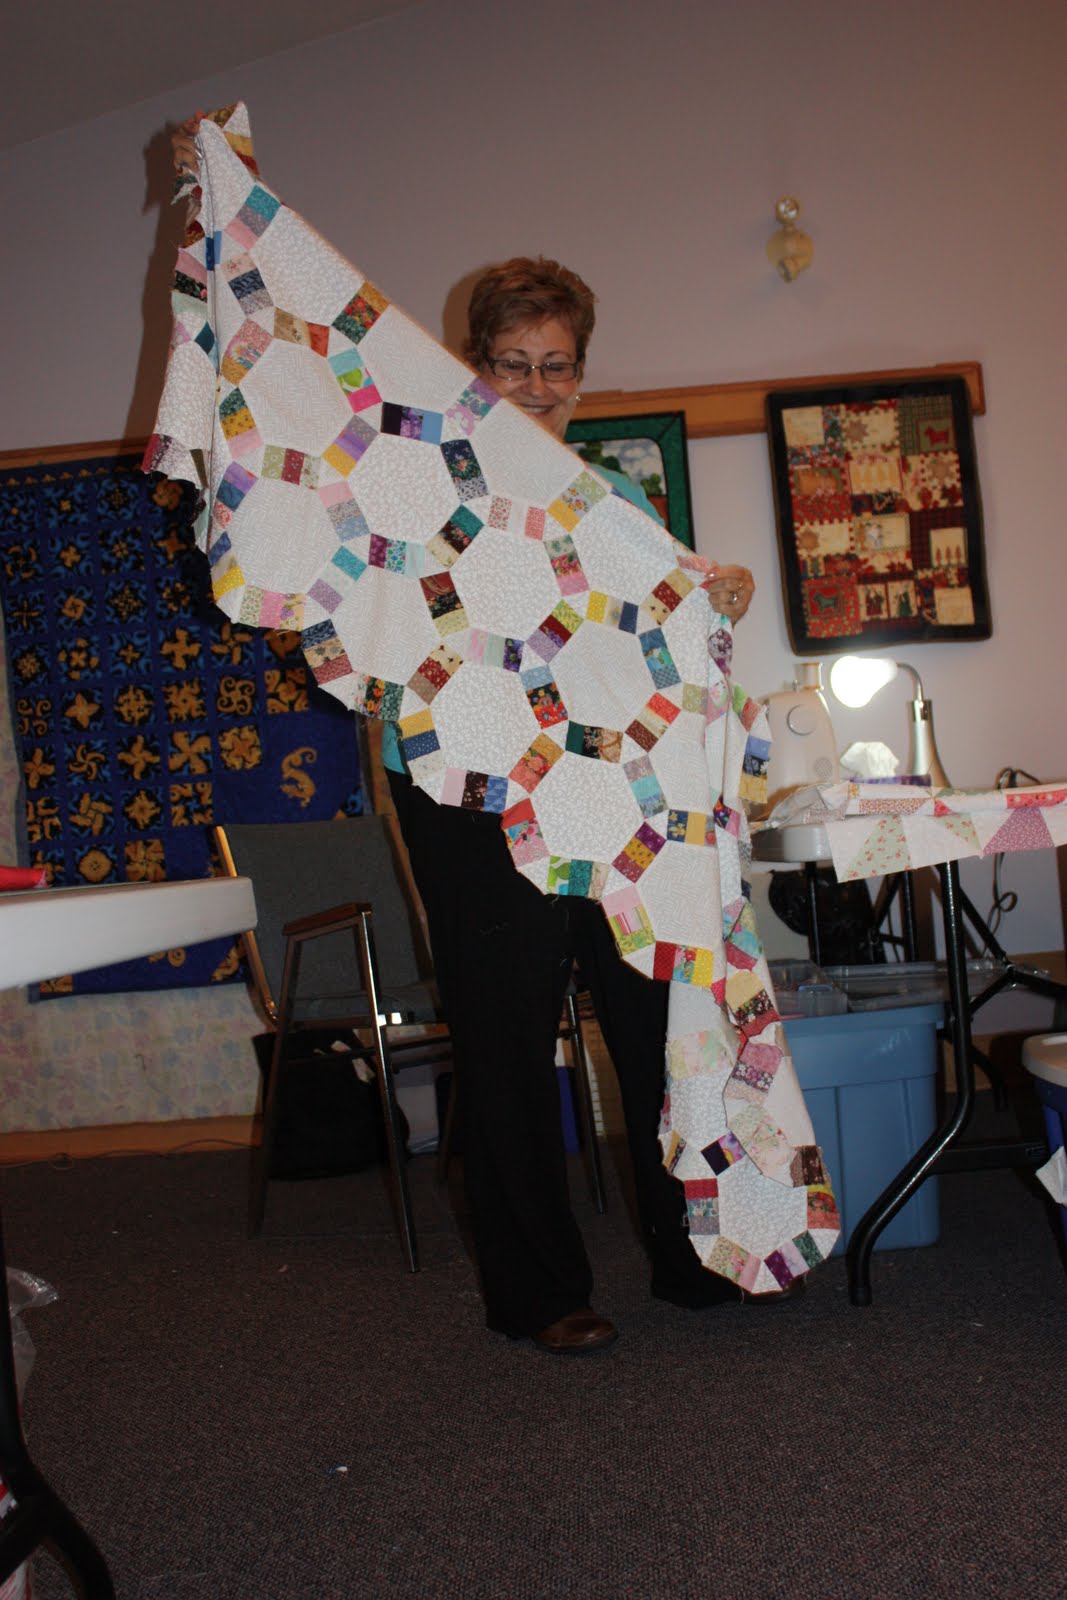
Retreat pictures #4
Here is the last post of retreat pictures. I really have a great time at this retreat and you are welcome to join us!!


 The Piecemakers


 That is all of the retreat pictures!! Thanks
Until the next stitch!!


Until the next stitch!!
Subscribe to:
Posts (Atom)