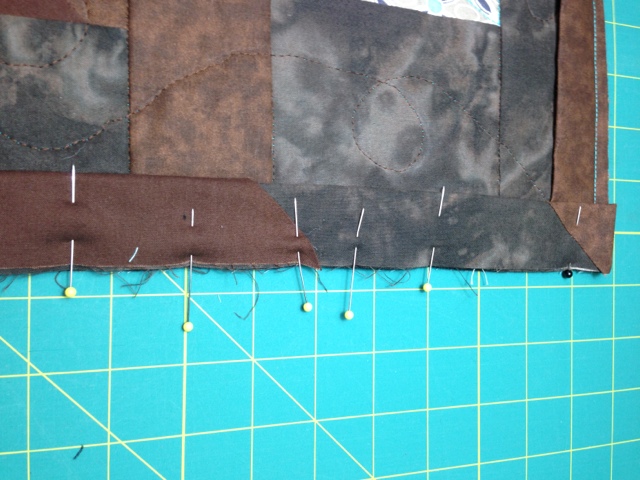
I then press that edge over just one and press. Notice I cut it on a 45 degree angle.
 I stop a good distance before I meet where I began. In this case I lucked out and was close to a corner ( I did plan that). So I pinned the corner so it is secure.
 I then open the tail of where I started. I lay that bottom piece as flat as I can make it, and stick a pin in to make sure it does not move.
Then I carefully work the end piece into that pocket. I also cut the end tail at a 45 degree angle. Make sure the folds are in each other.
Pin it into the quilt.
Work the top binding back in place. Pin it
Continue to pin the area making sure it will not more when you sew it
 Sew over this area removing the pins as you go
 Hand sew the two binding parts together on the front side. I then continue to hand sew the binding onto the back. Don't forget your label!!
Until the next stitch!


last pic was a good advertisement for Auriful threads
ReplyDelete